Operational Technique with Spinal Stenosis Lobster
See product Specifications of Spinal Stenosis Lobster
Patient Positioning
| Place the patient in a comfortable prone position. It is necessary to obtain a neutral position of the physiological lumbar lordosis, so that the interspinous space is distracted in a natural way. Proceed with general anesthesia, or local anesthesia mixture of Xylocaine and Marcaine for the skin fascia. |
 |
Identify and confirm the level with spinal needle


Localize entry level
• Interspinous ligament in only pierced to the size of the implant.
• No bone needs to be trimmed to facilitate the insertion of the implant.

Define landmarks in projection to the skin level, marking under fluoroscopy the spinous process of the inferior and superior level being treated. The entry point for the instruments is in the middle between these two points, on the posterior contour of the facet joint.
Make a longitudinal or transverse incision of approximately 2 cm at the previously defined entry level.

Guide wire introduction:
| Introduce 1.6mm Kirschner guide wire through the incision. Under lateral fluoroscopy, carefully advance the guide wire between the spinous processes, keeping it parallel to the coronal plane and centered between the two spinous processes until it reaches the interspinous ligament, which gives a slightly increased resistance. |
 |
Interspinous ligament perforation
Assemble the first instrument to drill interspinous ligament.
Take the cannulated ligament sharp probe (LOB-0305) and fit it on the quick connect cannulated handle (LOB-0104).

Assemble the first instrument to drill interspinous ligament.
Take the cannulated ligament sharp probe (LOB-0305) and fit it on the quick connect cannulated handle (LOB-0104).

Dilatation tubes insertion

Insert on the guide wire the dilatation tube STEP 01 (LOB-0201); insert on this first one the dilatation tube STEP 02 (LOB-0202), removing the first one and the guide wire.
Do the same procedure with the dilatation tubes STEP 03 (LOB-0203) and the STEP 04 (LOB-0204). These procedures to implant Lobster size 8/10/12/14.
To implant the size 16, also use the dilatation tube STEP 05 (LOB-0205).

Implant size selection
Mount the cannulated implant trial 8 mm (LOB-0308) on the quick connect cannulated handle (LOB-0104) and insert it into the dilatation tube, gently pushing the trial implant through the ligament between the two spinous processes.

If the size of the first trial implant is not suited, remove the trial implant and insert into the dilatation tube the size of the next trial, repeating the process until reaching the most suitable for the patient.

Open the packaging
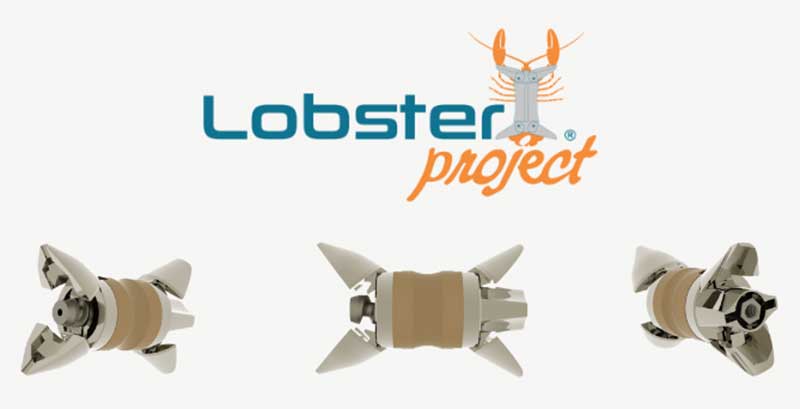
After establishing the correct size, open the sterile implant package chosen, selecting it among the 3 available versions:
1- Spinal Stenosis Lobster- Titanium / LBT
2- Spinal Stenosis Lobster- Titanium-Silicone / LBN
3- Spinal Stenosis Lobster- Titanium-Peek / LBS
Implant preparation


1. Mount the sterile implant on the holder (LOB-0101), taking care that the mark located on Spinal Stenosis Lobster matches the marking “UP” which is located on the holder.


2. Insert the opening tube for implant holder (LOB-0102) into the implant holder (LOB-0101), firmly holding the implant with a hand; the flat part of the handle must be parallel to the marker “UP”. This handle, turning clockwise, opens the fins of the Spinal Stenosis Lobster; vice versa, turning it counterclockwise, it closes the fins.


3. Insert the cannulated shaft for fixing implant holder (LOB-0103) into the Lobster opening tube; doing this the thread on the rod is in contact with the cochlea of the implant. Screw the rod for attachment counterclockwise, while firmly holding the implant, until reaching the complete fixing of the Spinal Stenosis Lobster to the support.


Implant introduction
Once Spinal Stenosis Lobster is securely attached to the assembled holder, insert it through the dilatation tube.
Check under fluoroscopy that the implant is properly positioned in the center between the spinous processes, then begin the process of gradual and simultaneous opening of the fins to fix the device.

| NOTE: The mark “UP” present on the implant holder (LOB-0101) must point to the skull of the patient |  |
Take as a reference point the flat part of the tube opening for implant holder (LOB-0102), slowly make a full turn clockwise until the flat part backs to the starting point, getting half opening.
Make another full turn clockwise to obtain the complete opening of the Lobster fins. The fins lock automatically when they reach their maximum opening, not going over.


Implant release and end of the intervention
Before removing the instruments, control under fluoroscopy that the device is correctly opened in the selected position.
Turn clockwise the cannulated shaft for fixing implant holder (LOB-0103) to remove the thread on the rod from le Lobster implant, retract of 3 cm.
Retract the tube opening for implant holder (LOB-0102) of 3 cm, and then retract the implant holder (LOB-0101).
Extract the dilation tube and suture the entrance hole.


Certificazioni

Bibiography available at the address http://www.techlamed.it/techlamed/index.php/it/spinale/lobster-project